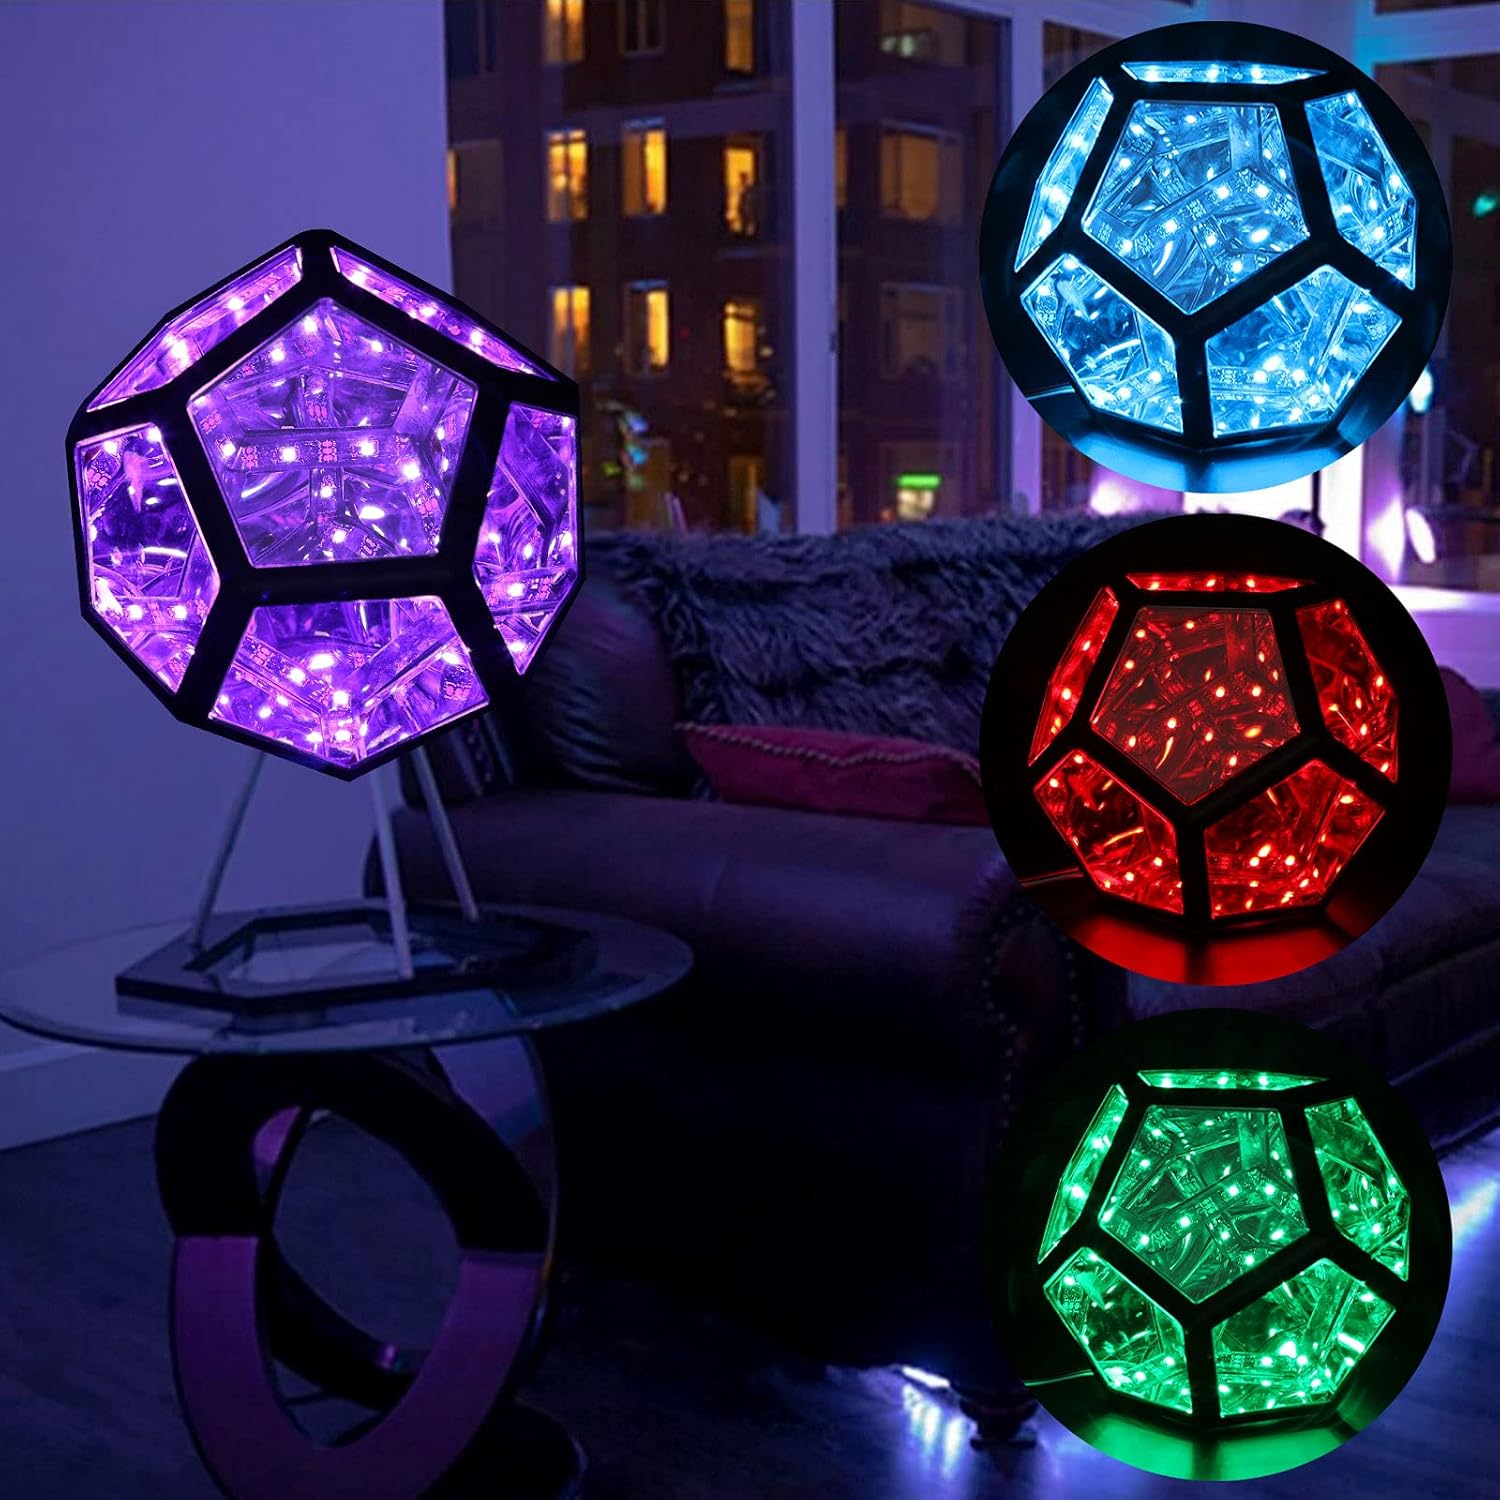
Infinity Dodecahedron, Creative and Cool Infinite Dodecahedron Color Art Light Night Light, Spiral Space LED Light Adjustable Color Light, Furniture Decoration Table lamp Soft Dimmable Lighting (A)
FREE Shipping
Infinity Dodecahedron, Creative and Cool Infinite Dodecahedron Color Art Light Night Light, Spiral Space LED Light Adjustable Color Light, Furniture Decoration Table lamp Soft Dimmable Lighting (A)
- Brand: Unbranded

Description
Finally, I guess you've designed your own dodecahedron with edges for 10 pixels? My edges have separations for each pixel, so you probably won't be able to use a denser strip without creating new edges (or just removing most of them, you probably only need one in the center for structural reasons).
You'll definitely either want to use some slow setting epoxy or have someone on stand-by to help with this step. By default the buttons are disabled in the code, you can enable them by setting "BUTTONS_ENABLE" to true. To aid in getting the angles right, I have provided templates. The corners can be places in the template, and the struts can then be clamped to the template, holding all pieces in the right orientation. When the glue has set the template can simply be removed. If your Wemos doesn't have headers solder onto it, solder them on now. You should also test you Wemos to confirm it's functional. You can do this by uploading "blink" using the Arduino IDE. I will not go over how to setup the Wemos in the Arduino IDE here, but you can find instructions on step 11 of my Pixel Shades instructable.There is absolutely no room for cables. I had to sand all the parts to make the cables and solder joints fit. Half way I switched to thinner wires so that the corner covers would fit. This is fixed in the 3D files shared here. Like the base corner, the pad polarities are indicated by + and - with the center pads being for data. It is the place when the power, ground, and data wires connect to the strips from the controller. This is why all the pads are through-hole'd, so that input wires can be inserted. Fold the outer pentagons of each halve upwards until the sides touch, forming two half dodecahedrons. The covers have an orientation. The small 45 degree side match with a 3 point intersection. The sharper 60 degree side matches with the 4 point intersection. Flipping these will result in the edges not properly aligning with each other.
My end result is a dodecahedron that is a bit bigger than a softball. Without the stand, it measures about 150mm from corner to corner, or 124mm from face to face. With the stand, it is about 203mm tall. You can see it compared to a fresh pencil in the pictures. It is small enough to have on a desk, while still having plenty of LEDs, and being build-able by hand. While I did enjoy making it (except for the gluing of the frame) and I do like the result, there are plenty of things I will do different next time.Sorry that I don't have any mid-build pictures for this step; I had my hands full putting the faces together and couldn't take any photos! It should be fairly straight forward, but leave a comment if you have any questions. Take the two halves and join them together to form a full dodecahedron. Make sure that the numbers at the joints match those pictured! IE: 21 and 8 share a common corner.
- Fruugo ID: 258392218-563234582
- EAN: 764486781913
-
Sold by: Fruugo