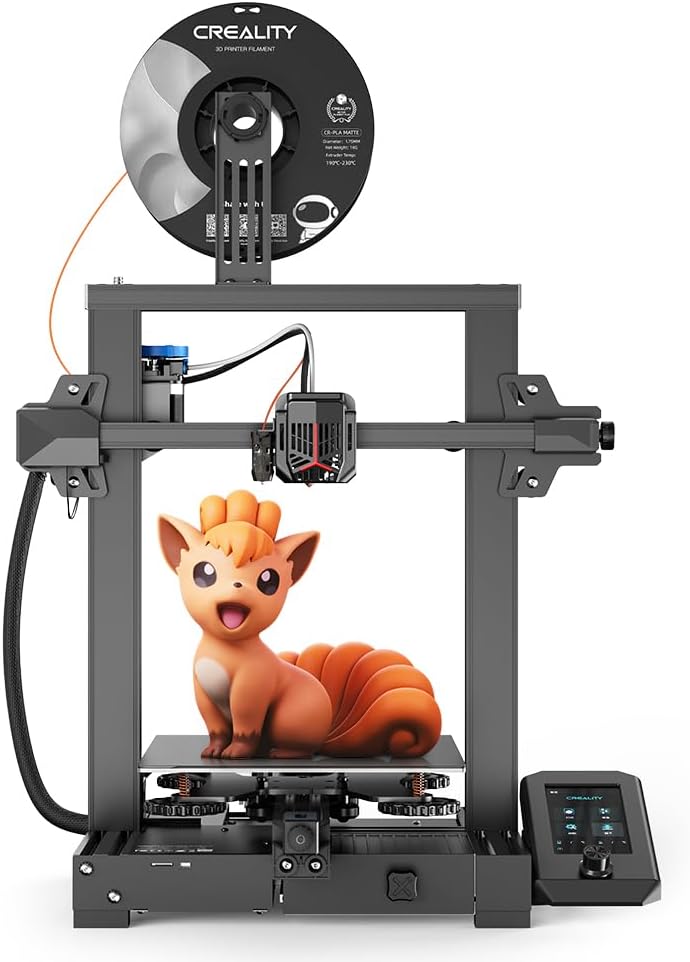
Official Creality Ender 3 V2 Neo 3D Printer, CR Touch, Full-metal Bowden Extruder, Model Preview with New UI, Stable Integrated Design, PC Spring Steel Magnetic Plate, Printing Size 220 * 220 * 250mm
FREE Shipping
Official Creality Ender 3 V2 Neo 3D Printer, CR Touch, Full-metal Bowden Extruder, Model Preview with New UI, Stable Integrated Design, PC Spring Steel Magnetic Plate, Printing Size 220 * 220 * 250mm
- Brand: Unbranded
Official Creality Ender 3 V2 Neo 3D Printer, CR Touch, Full-metal Bowden Extruder, Model Preview with New UI, Stable Integrated Design, PC Spring Steel Magnetic Plate, Printing Size 220 * 220 * 250mm
- Brand: Unbranded
| RRP: | |
| Price: |

Description
As you can see, the quality of the print was consistent until around 100 – 120 mm/s. At this printing speed, we notice some inconsistencies in the bonding between the layers, and some slight stringing starts. But still, it wasn’t horrendous. Minimum Layer Height
Another small improvement is the design of the coupler which holds the PTFE tube - the Ender 3 V2 Neo uses a new design that no longer relies on small metal teeth to hold the tube, making it less prone to failing over time. We also found that it holds the tube very firmly as long as the blue clip is present, which will help prevent jamming due to a gap forming between the PTFE and the top of the nozzle. The first layer is often a source of frustration in 3D printing. If it does not adhere properly to the print bed, the print fails entirely.
Product Reviews
Since the retraction consists of two settings (the retraction distance and the speed), you should only change one of these settings at a time and observe the effects of it before you change the other. The V2 comes with all the tools you should need for assembly—although, as mentioned, I also needed to use one of my own wrenches to resolve an issue. This is not the model to get if you are looking to simply plug and print. Many closed-frame printers, as well as the pre-assembled Prusa i3 MK3S+, fit that profile, though the latter costs about three times as much as the V2.
If you still want to try printing with TPU, you need to calibrate the retraction well. Flexible filaments are sensitive to incorrect retraction settings. Stringing is difficult to control with a Bowden extruder for flexible filaments. Both printers use a standard hot end that is not a full metal design, meaning that the nozzle temperature is limited to 260 °C like previous printers in the Ender 3 series. The build platform can heat up to 100 °C. These are sufficient temperatures for printing most standard materials, including PLA, PETG, and ABS. These temperatures also allow for TPU, but the Bowden extruder setup makes printing with flexible materials more difficult, and we recommend choosing a printer with direct drive like the Ender 3 S1 if you are looking to print flexible materials.
Overview
The spool-holder dowel is held in place on the spool holder with a plastic nut, about an inch in diameter. The nut comes attached to the dowel and should unscrew from it in a manner similar to opening a child-proof cap to a pill bottle. Try as I might, though, I couldn’t get the nut to budge by hand. I ultimately had to remove it using a wrench that could open wide enough to securely grasp it. Creality's Ender-5 Pro, which I tested concurrently with the V2, uses the same dowel-and-nut combo, but I was able to separate them on the first try, no wrench needed. The Ender 3 Neo and Ender 3 V2 Neo share many similarities. In fact, both 3D printers received some of the same upgrades from the previous generation of Ender 3 printers, such as:
The Ender-3 V2 includes a user manual, which is mostly a setup guide. Text is duplicated in English and Chinese throughout. It starts with front and rear diagrams of the printer, with the parts numbered. Also included are a spec sheet and a comprehensive parts list (erroneously titled "Spare Parts"), with illustrations and names for each part. The Ender Neo UI has been updated and improved! With a preview function, you can now preview the shape of your 3D models before they are printed! They look identical at first glance. But when you look closely, you’ll immediately see the effects of layer height on the two prints. On the left halloween pumpkin, the layers are almost visible while the right one has a smoother texture to it. Creality Slicer lets you see a multi-angle view of your model by changing the angle of the bed to 3D view front, top, left, and right view. You can also rotate and move the model around the bed, scale it along the X, Y, and Z axes. The full metal Bowden extruder enables higher extrusion force. Thanks to an integrated rotary knob, feeding and removing the filament is much smoother.
Compare
For the first print, I attempted one of the test prints included on the memory card. I used a third-party PLA filament; the print came out brittle and poorly cohesive. I tried again, this time using Ender filament, but try as I could, I couldn't get it to extrude. I expected that the extruder might be clogged, so I preheated the extruder to PLA melting temperature and took the long, very thin needle that Creality includes with the printer and poked it into the nozzle a few times. This cleared out the problem, and from then on the V2 extruded normally. In retrospect, I suspect the problem wasn't with the filament, but that the nozzle was set a little too close to the print bed, touching it in places so that filament wouldn't come out and causing the clog. If you’ve used Cura before, you’ll notice that the Creality slicer software has a striking resemblance to Cura, and it’s basically exactly the same to use. Not only does this eliminate the hassle of manual leveling, but it also produces a cleaner, more accurate first layer, which is vital for the overall quality and bed adhesion of the 3D print. This is also a great feature if you are new to 3D printing, since leveling the bed takes a bit of practice, but even as experienced users we appreciate this feature. Redesigned Hot End
Put the firmware file "Ender-3 V2 Neo-Marlin2.0.8.3-HW-V4.2.2-SW-V1.1.5.2-CR-Touch-20230312.bin" into the root directory of TF card. While PC spring steel plate has very good adhesion, it can be hard to remove prints even with the ability to bend the build plate. The carborundum plate on the Ender 3 V2 is a better overall build surface in our experience, since prints are much easier to remove once the bed cools without any need for removing the bed surface. We’ve also found that it’s far easier to damage the PC surface of the steel build plate if the first layer leveling is too low. We’ve analyzed these two varieties of build plates in more detail in our bed material guide.The biggest addition in the Neo series is automatic bed leveling as a standard feature. Creality has now made their CR-Touch automatic bed leveling system the new standard among low-end 3D printers by installing it on both the Ender 3 Neo and Ender 3 V2 Neo. The CR-Touch probe automatically probes 16 different points on the bed to identify potential unevenness on the platform and uses that information to automatically adjust the bed during the printing process. The heating systems are also identical, with nozzle temperatures hitting a maximum of 260°C, while the bed reaches a maximum temperature of 100°C. At this temperature, the hot end can easily handle all of the standard 3D printing materials, including PLA, ABS, and PETG. Mainboard
- Fruugo ID: 258392218-563234582
- EAN: 764486781913
-
Sold by: Fruugo