About this deal
Touch the metal ring at the bottom of the moon lamp to turn on / off the light and change color from white to yellow. These multicolored wires need to be reconnected to the nearest copper spots. The gel on the light strips needs to be removed for the soldering process, I carefully cut off the protective coat on the light strip off using an Exacto knife. This is the same for the wires, so I cut off the wire-protectors using a wire stripper. Make sure you only cut off enough of both to be able to solder them.
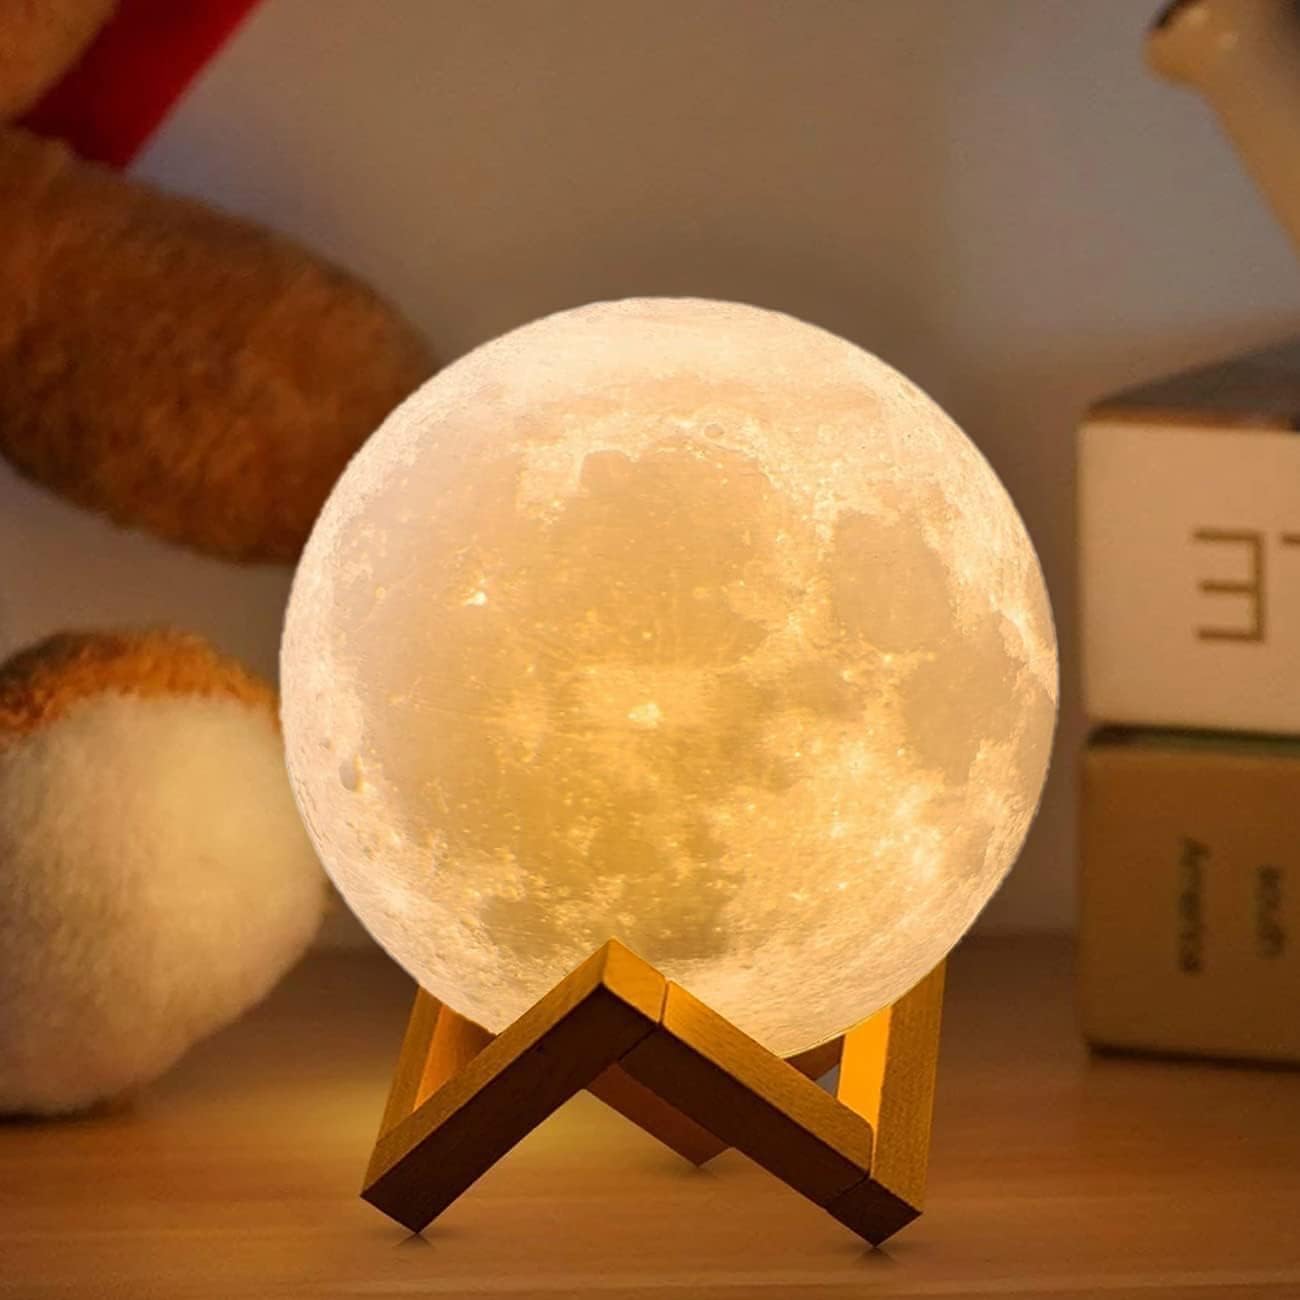
Add a little bit of magic to every room at night while you're reading your books or simply admiring the beauty of the moon before bed. This overlap is bad for the design, so I got rid of it. Starting from the first edge where the rectangle overlaps, I used the 3 point arc tool to trace the edge of this center hole. Once the arc was done, I deleted the part of the rectangle that covered the hole. I created another sketch on the top of the base and drew two circles with diameters of 45.72 and 35.72 from the center. These are the circles that will form the cylinder Insert the DC connector into the metal ring at the bottom of the moon lamp to charge, the red or blue light is always on during the charging. At these two spots, I made two holes of 3mm diameter and 6mm depth. The settings should be on "simple".Using the Hole feature, I created two holes of 25mm diameter at the center of the base and at the side of the base's walls. These holes are necessary for the wires of the LED lights to reach the cylinder. After our experts have made sure the designs are perfect they begin the process of printing them on our cutting edge, state of the art 3D printers. Each and every lamp takes around 26 hours to 3D print, and it is done so in one single piece. The Levitating Moon™ lamp floats above the base because of the magnetic force pushing the moon lamp away from the base.
For the final settings, I selected 0.15mm Quality (this can be changed). Input your filament material and printer. I used Prusament PLA for filament and printed with an Original Prusa MINI. Then I added points to make the hole creation process (step 9) easier. I created another sketch on the surface of the extruded rectangle and added two construction lines 8mm from the side and 3mm from the top right. I repeat this step on the bottom left (the 3mm would now be from the bottom left) and made sure they are coincident. There is a picture of this above.
Be the First to Share
TWO COLOR TONES IN EACH LAMP - Switch between white and yellow lighting with the touch of a button.
For safety, I went over the rectangle and made sure that the two points at the bottom are connected to the side. Then I deleted the center construction line and finished the sketch. I used the wire cutter instead of the pen because all my cuts were straight and could be cut in one line. Once the cutter heated up, I carefully traced the lines I drew on the styrofoam. As with all things in life, unexpected problems can arise. If the LED lights break or tear, don't throw them away! You can use a soldering kit to fix them by reconnecting the wires to another copper spot. This happened to me too, so don't panic if you have the same issue. I switched to bottom view and created a sketch on the base (almost like the ceiling for the bottom section).The STL is ready, but there is one more thing to do before it can be printed. The bottom of the STL isn't flat, so it needs to be altered before printing. Although the final product and designs that can be seen in the previous steps seem simple, I actually went through multiple versions of each part before achieving the finalized product due to being completely new to the design process and 3D printing. While I originally only had a very basic project consisting of the moon lithophane and a simple light, over the course of the project I improved my original plan by adding a base, cylinder, and LED lights that change color. Again, don't be afraid to improve your project throughout your working process! The light in the moon lamp is powered by magnetic induction. The same electromagnetic force that causes the moon lamp to levitate above the base lights the moon.
The Original Moon Lamp can make the perfect gift to kids and adults alike. Treat your loved ones with this enchanting, calming and interactive piece of art.Lighting Technology: The lighting technology within levitating moon lamps adds to their ethereal appeal. LED lights are used to illuminate the lunar surface, providing a soft and soothing glow that mimics the moon's natural radiance. With adjustable brightness levels and color temperatures, users can create the perfect ambiance for any occasion.
 Great Deal