About this deal
Measure your dowels longer than what you actually require. This will allow you some length to work with when hammering them in place. Cut the dowels either with the circular saw or hand saw, whichever you’re more confidant working with. You most likely have long uncut railway sleepers to work with. To make your design a reality, you’ll have to do some measuring and planning.
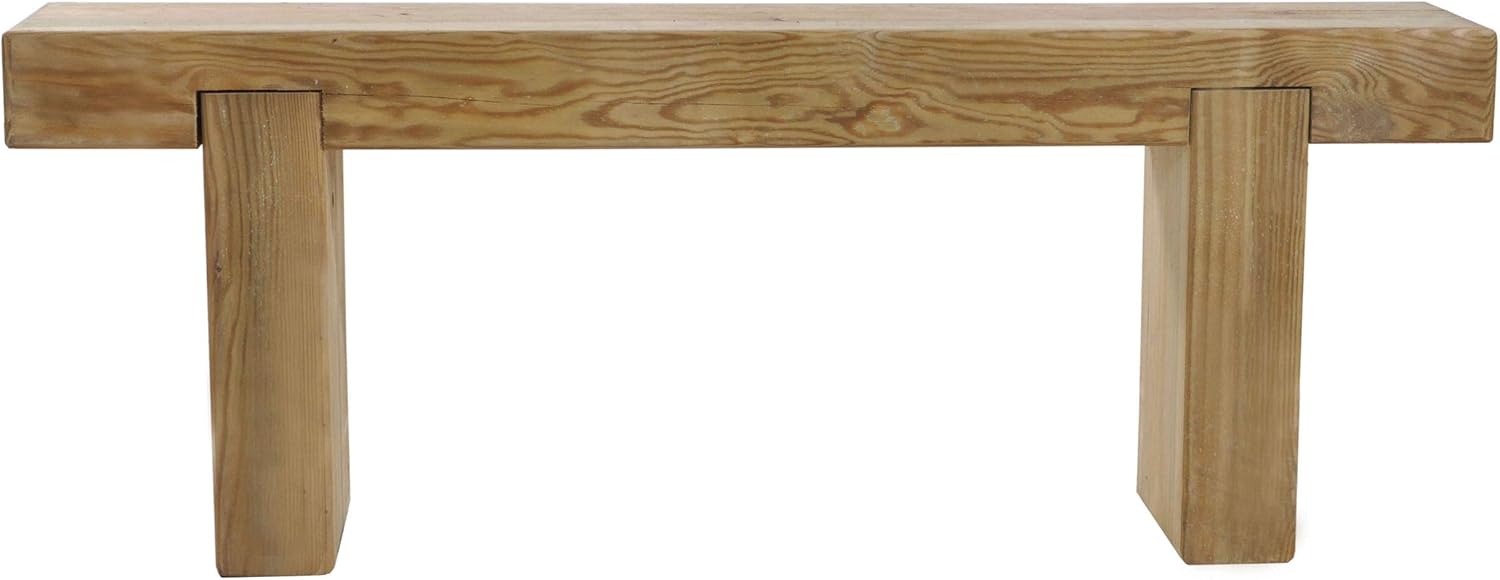
Sleeper Garden Bench 1.2m - Harlestone Supplies Oak Sleeper Garden Bench 1.2m - Harlestone Supplies
Using a sander will make the job much faster than doing it by hand. Make sure to use safety glasses and a mask for this part of the project. The fine dust particles can cause serious problems if inhaled. Also, make sure the room is well ventilated if sanding indoors. Step 5: Assemble the table/bench The Sleeper range is manufactured from Pressure Treated timber that has been smooth-planed for a splinter-free finish, ensuring it is comfortable and safe for children too. The timber is FSC certified from sustainable sources and comes with a 15 year guarantee against rot and fungal decay. Once you are sure, you can place some wood glue on the areas where the leg attaches to the top railway sleepers. Again make sure everything is perfectly lined up. To keep everything stable in place, you can put in a long hex screw.Before drilling, make sure to start in the centre of the plus sign where the lines cross. Drill until you’ve drilled through the top railway sleeper into the one functioning as a leg. You can now either switch drill bits or continue on to the next cross. If you continue on, drill all the pilot holes before switching your spade bit for the auger bit. Take great care when sawing your railway sleepers. Credit: @the_scaffold_furniture_co Step 4: Sand everything down The Sleeper furniture range from Forest has been designed to be mixed and matched in any configuration to create the perfect seating area to suit your garden
Railway Sleeper Bench - Etsy UK Railway Sleeper Bench - Etsy UK
Use your method of choice and hammer all the dowels in place. You can put a bit of glue in the hole to make it extra secure. Now you’ll need the sander again to gently taper off the edges of the dowels. Don’t throw away any scrap pieces since you’ll be using those to hide the hex screws later. The screws will help to hold everything in place while you prepare the railway sleepers to be secured by the dowels. Hammer your first dowel in place to make sure the fit is tight enough. If it works, continue drilling the rest of the holes for the remaining dowels. Measure out the sections you want by starting with the seat/surface area. This area will be a bit longer than the rest of the structure. You could even use the whole railway sleeper if you’re going for a long sleek design.For cutting your measured lengths, you will need to start with the circular saw. Place the railway sleeper on your workbench or another solid surface to work on. Put on all your protective gear and get the saw ready. Once you’re ready, take the saw and follow the lines you’ve drawn to cut the wood. If the circular saw doesn’t cut all the way through, you might have to use the handsaw to finish the job.
 Great Deal